
My Valentine Card using embossing and a glittery heart made using masking tape.
Please scroll to post's end to view Challenges for Valentine's if you're interested.
Hello, hope you are visiting my blog from some sunny part of the world because it is cold beyond belief here - brrrrr! However, I "warmed" up my spirit playing around with lots and lots of techniques and fun ideas to celebrate Valentine's Day this year!
One technique I have never tried till now was to make a take a small strip of clear packing tape and douse it with glitter - it looked so fun to do - and it was! Give it a try.
Create an opening cut out of piece of cardstock using your preferred method [punch, die-cut, scissors] and back it with a strip of clear packing tape and then sprinkle dry glitter over the exposed sticky tape and in seconds you have a cool glittery accent :)
CARD HOW-TO
I first played around with embossing folders and inks. I simply swiped different ink colours over embossed cream cardstock, and for this card I chose to work with the Moroccan Cuttlebug Embossing Folder.

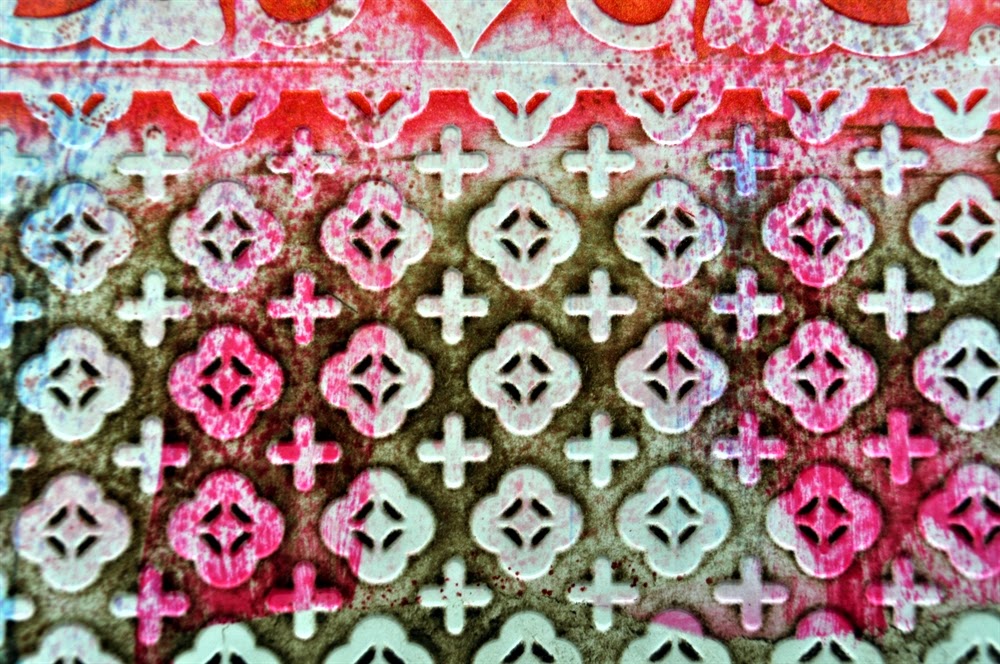
I really love the random strokes of colour paired with the smoky brown ink!
I then took a heart die and cut out my heart and then backed the heart-shaped opening with the tape.
I choose to make a custom colour of glitter by combining orange and red glitter with a wee bit of white to get a peachy-shade. This is also fun to do - its like playing at being a kid again :), and as I mentioned earlier shook the glitter all over the heart shape where it stuck to the exposed sticky tape. Using my fingertips, I pressed the glitter down and shook off the loose glitter...looks great, its more pretty in person, trust me.
Afterwards I matted my embossed-glittered piece. Now my peach card base was prepped by embossing using the Script Cuttlebug Folder, and laying down ribbon. Because the ribbon ends might show through the heart, I die cut another heart out of white cardstock and placed it down where it would match up with the glittered heart....hope that makes sense! I mounted the card front to the base using 3D foam dots.


I added accents of copper stickers [key, corners] and a ribbon bow, twine and gems.
Voila - I really like how the card came together....and in fact, I do not have a key die but I've decided I liked the heart/key combination so much I will have to buy one!
Have a Happy Valentine's Day!
Supplies
Inks [Memento, Stampin' Up!], various cardstock, Cuttlebug Embossing Folders, glitter, foil stickers,
satin ribbon, twine, Heart Framelits die, clear packing tape, foam tape, foam dots, glue dots, Big Shot


CHALLENGE ENTRIES
Comments
Thanks for sharing at Use Your Stuff!